The benefits of being a traveling photographer are numerous. These include the opportunity to photograph landscapes and people as well as cultures, customs, and history. Also, a travel photographer has the freedom of photographing wherever they choose. Here are some tips for traveling photographers. Keep reading! You'll find tips on how to avoid burnout as a traveling photographer. The more you learn, the easier it is to plan efficiently.
For a traveling photographer, it is essential to plan effectively
To get the best photos, you must plan your trip. There are many ways to accomplish this, including doing research on the best times to take your photos, researching local weather conditions, and finding the perfect locations. We have put together tips and tricks to help you plan your trip. This guide will help you save time and maximize your chances of getting the best shots.
Before booking your flights, book your accommodation and book your entry tickets ahead of time. Know when famous architecture closes and when it is open for tourists. Booking your tickets in advance will ensure that everything runs smoothly. You can avoid the hassles of getting tickets at the last minute, which can lead to missed opportunities. For a travel photographer, planning efficiently is key.
You can be a traveling photographer by creating your own niche style
If you dream of being a professional photographer, it is possible to define your niche. Niche styling means creating a specific look and brand for a particular consumer. For example, if sports photography is your passion, you might focus on events. If you are passionate about nature, however, you might prefer to concentrate on landscapes.
Being a traveling photographer means standing out from the rest. With so many other travel photographers competing for your attention, creating your own unique style will set you apart. People want to know your style and how you see the world. A niche style allows you focus on your favorite photography styles, improve your craft, and make your work stand out from others. Here are three steps to help you get started.
Being published as a travel photographer
Publishing as a travel photographer can be done. But, you need to be able and willing to pitch your own projects. Mark Edward Harris, a professional travel photographer, has some great advice. The most successful photographers are those who have submitted their ideas and had their work published. The editors of travel magazines and newspapers don't have all of the answers so pitching your ideas can help you get the edge. Listed below are some tips to help you get your photography published.
It is important to have a strong portfolio. Many photographers will be featured in large websites or magazines that travel. You must stand out so they notice you. A niche style is a specialty that people want to see, so make sure you have a distinct perspective. Some photographers specialize in certain areas, like underwater photography or drone aerials. Others might pick a niche style like travel portraits and concentrate on it.
Avoid burnout when traveling as a photographer
Photographers who travel are faced with a challenging task: finding the right balance between taking beautiful photos and staying awake. However, it is possible not to burnout. If you follow some simple guidelines, you can protect your well-being as an artist and keep your business on the right track. These are some tips to help you avoid burnout. As a photographer, it is important to balance the need to capture moments and your positivity.
You should make time for yourself. Travel photographers are notoriously very busy. It can be difficult balance the demands of a full schedule and the personal time it takes to keep your images and albums organized. Take a step back if you feel overwhelmed and do the things that bring joy to you. Before you feel overwhelmed, take some time to rest and reflect. Next, take a look at signs that you feel burned out.
FAQ
Is digital photography hard?
Digital photography can be difficult. To use digital photography properly, it takes patience and effort. For different shots, you need to know which settings to use. Learning by doing is the best way to learn. Practice makes perfect.
Light Room can enhance your photos.
It is important to begin early in order to have great photos. It's always a good idea to take as many pictures as possible and then decide which ones will be the most valuable.
Lightroom allows this because it lets you see the effects of different settings on each photo. These settings can also be modified on-the-fly in Lightroom without ever having to open Photoshop again. This lets you quickly experiment with what looks great and what doesn't.
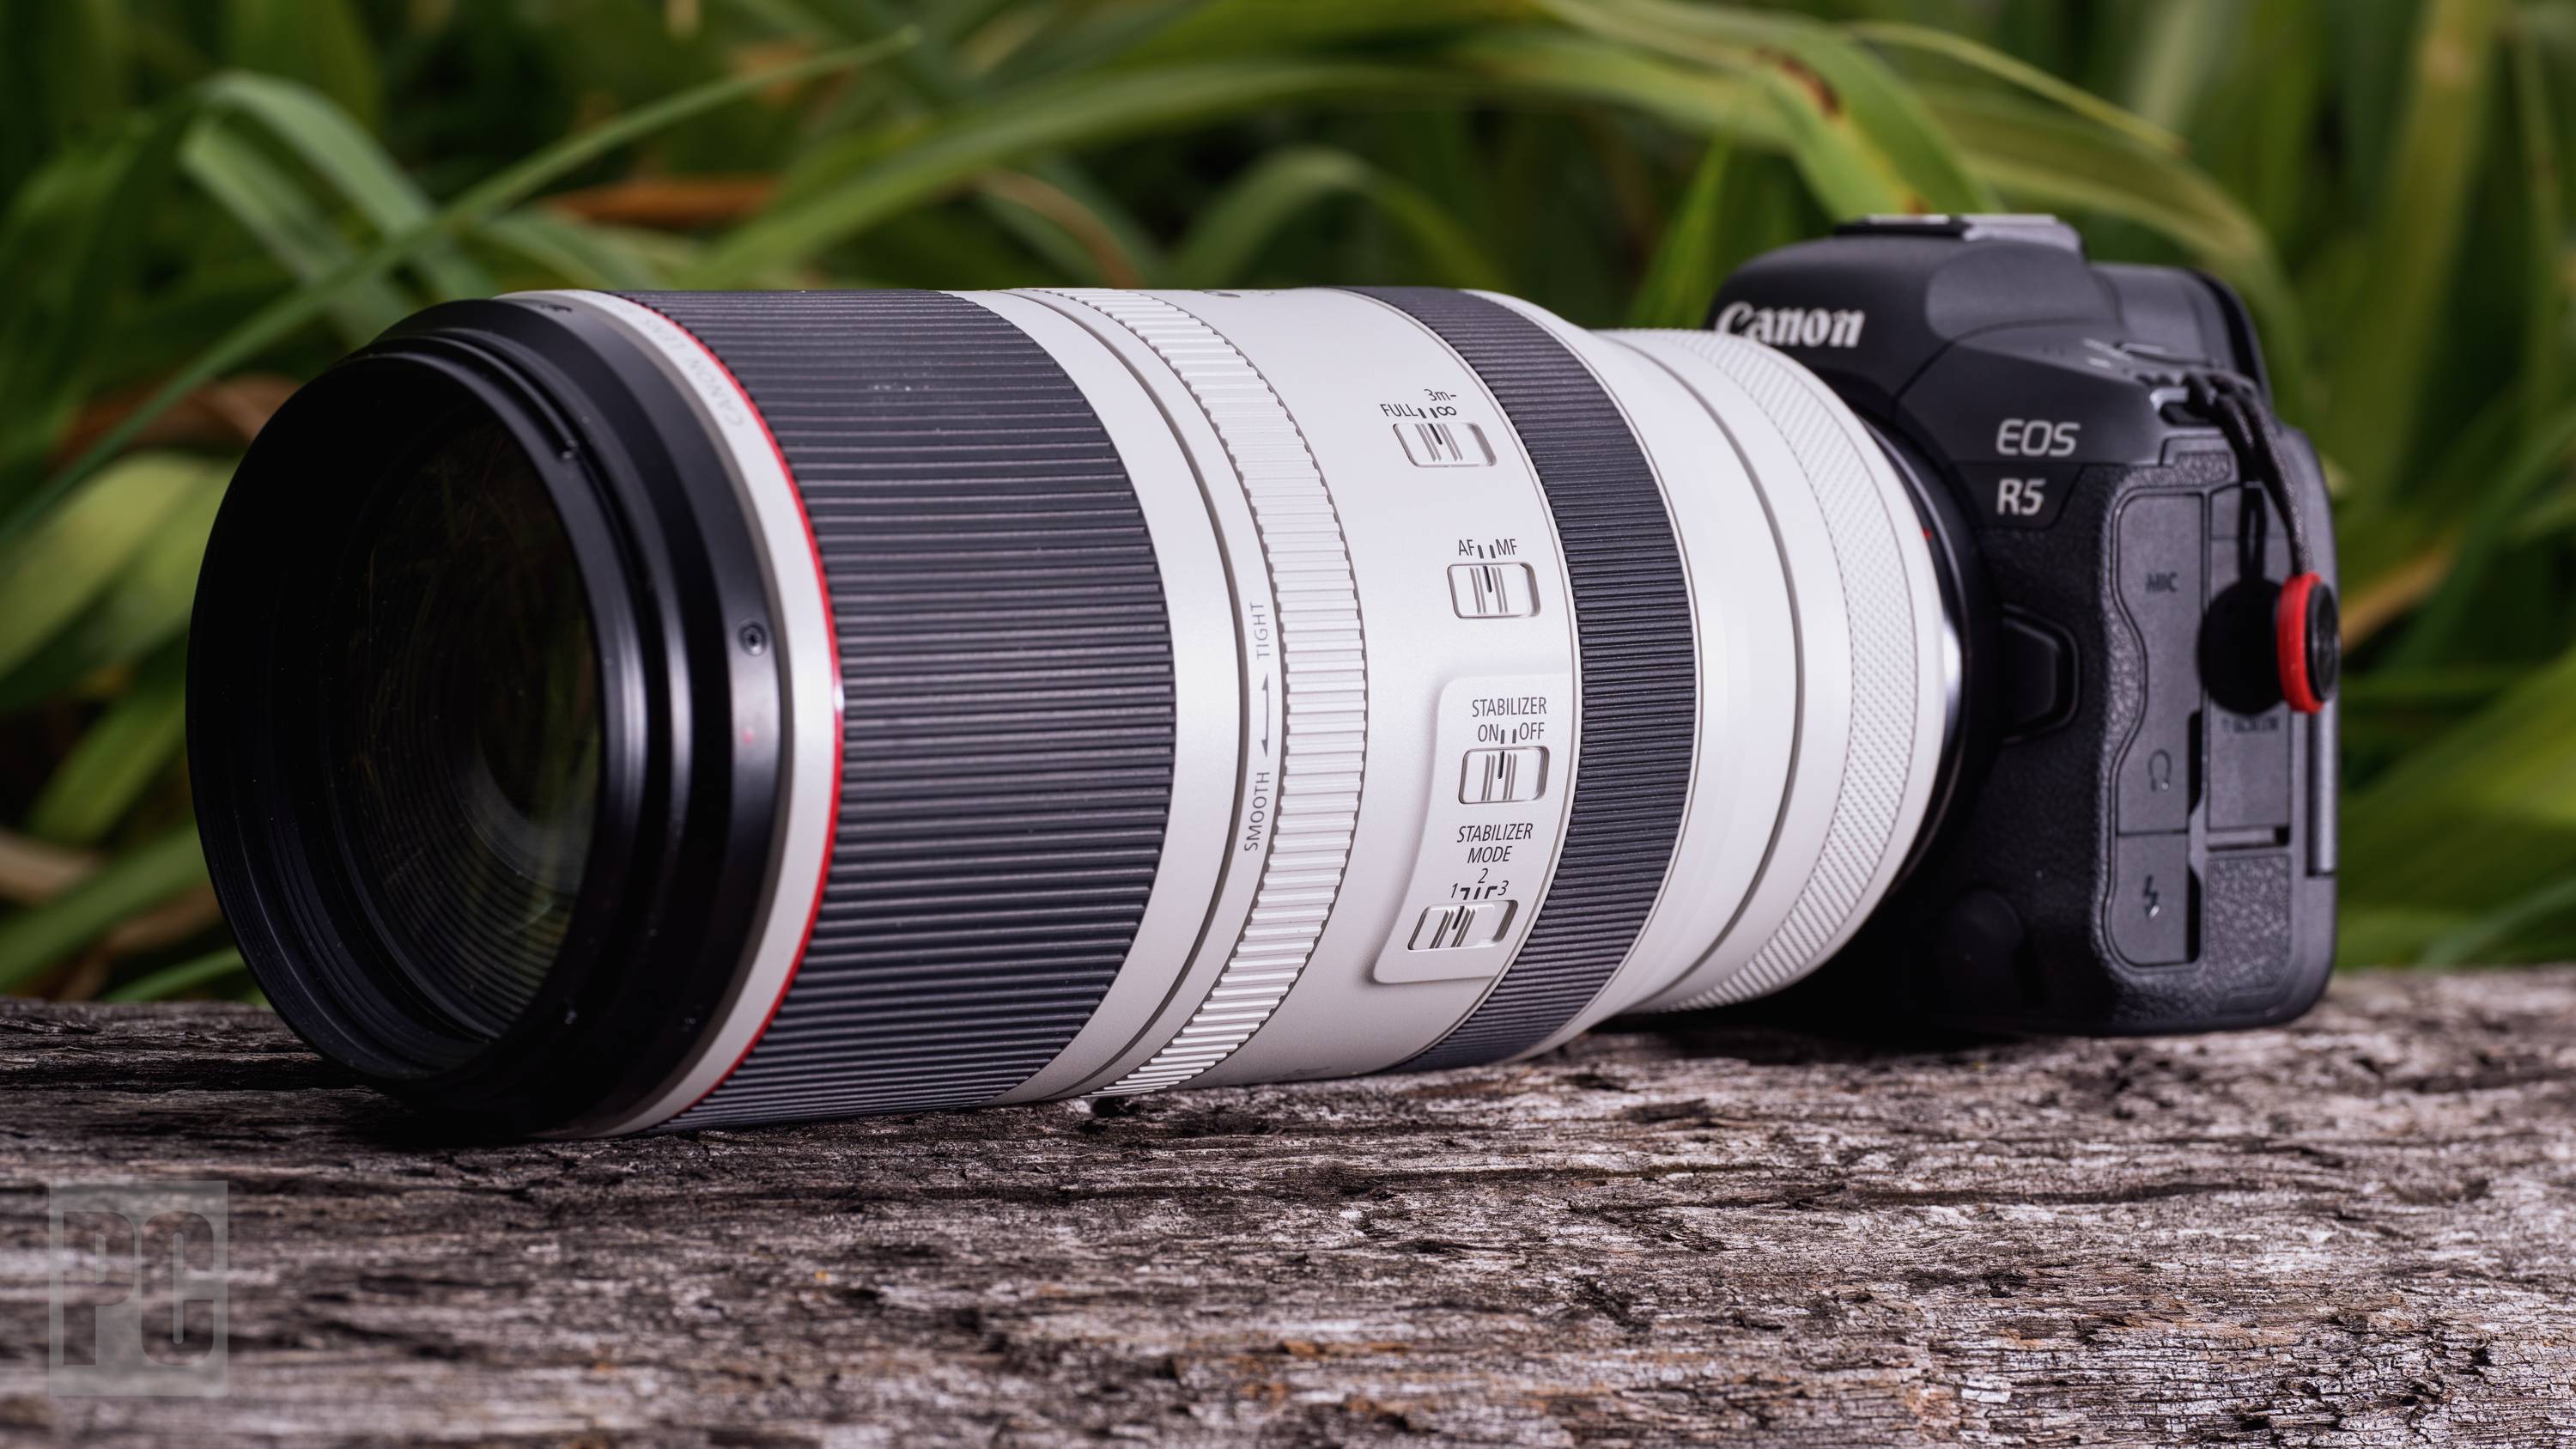
Do I Need A Tripod?
This is one of those questions that everyone asks. Although a tripod might not always be needed, they can be useful.
This allows you to keep your camera steady even when taking slow shutter speeds. Tripods can be a huge help when you are shooting landscapes or stationary subjects.
However, a tripod can blurriness if you are photographing moving subjects, such as people or athletes. How do you determine which situations need a tripod?
A tripod is useful in situations where you want to take pictures of fast action and stationary subjects. Examples include:
-
Sports
-
People
-
Landscapes
-
Close-ups
-
Macro shots
If you're unsure whether you need a tripod, try this test. You can hold your camera still while you look through the lens. You will need a tripod if you see blurred lines and movement.
A tripod will not improve blurring if you don't notice it.
Here are some tips for those who do decide to buy a tripod.
-
Your tripod should have smooth legs. This will prevent unwanted vibrations from shaking your lens.
-
A tripod is a good choice. Some tripods are made out of plastic and may not be very durable. Consider a tripod made of metal.
-
A remote release is a great option. Remote control allows you to remotely control your camera. You can set it to fire the shutter once you press the button automatically.
-
Make sure to look for a tripod that rotates 360 degrees. It makes it easy to position your camera horizontally or vertically.
-
You should keep in mind that tripods don't come cheap. Expect to spend around $100-200. But, you will get a lot for your buck.
-
Don't forget about accessories like filters and memory cards.
-
Before ordering online, you should check in your local shops. Many retailers offer free shipping.
-
Check out customer reviews to learn what they think about a product.
-
Ask family members or friends to share similar products.
-
Visit forums and message boards to learn about customer experiences.
-
You can search online for reviews from other users.
-
Amazon.com makes it easy to compare prices and see customer feedback.
-
Take a look at these photo galleries to see what other photographers do with tripods.
Statistics
- The second easiest way to get blurry photos 100% of the time is to use a cheap filter on the front of your lens. (photographylife.com)
- That's the easiest way to get blurry photos 100% of the time. (photographylife.com)
- In this case, 100% of readers who voted found the article helpful, earning it our reader-approved status. (wikihow.com)
- There are people out there who will pick at flaws they can only see in 100% crops of your photos. (wikihow.com)
External Links
How To
How to take pictures in low lighting conditions
Low-light photography refers to taking photos in dimly lit or dark environments. It requires special equipment. The main challenges in this field include controlling exposure, whitebalance, and sharpness. Two types of low-light photography exist: ambient or flash. Flash photography works well when there is sufficient light around you. If there isn’t enough natural lighting, you will need to use a flash. Without a flash, it is possible to get a poor picture if the subject is indoors and not outdoors. You can also shoot at night when the moon is shining. You'll be able to capture beautiful colors and shadows this way. Another option is shooting at twilight. Twilight occurs when there is still daylight but the sun has set.
You may also want to experiment with long exposures. Long exposures can be used to capture images even if the shutter has been closed for several minutes. The camera records only light that falls on it if the shutter is not closed. The light that falls onto the sensor during a long exposure continues to be recorded. Because the shutter was closed, no new light enters your lens. As a result, you see very little movement. To ensure you're getting a clear image, turn off any automatic settings like autofocus and auto exposure. Adjust the ISO setting before you start to shoot. A 200 ISO setting gives you greater control over how dark or bright your image looks. When you're ready for the shot, press quickly the shutter button. This will make the shutter close completely. You should then hold down the shutter button for as long as possible. The shutter button should be held down to prevent more light from entering the camera. Once you have taken your picture, wait for a few moments before you release that shutter button. This allows the camera's to process the image. While your image processing is taking place, you will be able to view your photos on your screen. When you are happy with your photos, save them to the computer.